
Dawn of War 4 Necrons Guide: Power Matrix and Attrition
How to play Necrons in Dawn of War 4: Power Matrix expansion, Resurrection Galleries, Tomb Pylons, both commanders and how to force fights outside the matrix.
Quick answer: Necrons are the slowest and most durable faction in Dawn of War 4. Build the Tomb Citadel, spread the Power Matrix toward contested points, use Resurrection Galleries to replace losses for free, and force the enemy to fight on matrix ground. Outside the matrix, Necrons are vulnerable; inside it, they trade better than any other army.
Necrons do not win by out-maneuvering the opponent. They win by making every fight expensive, then replacing their losses while the enemy cannot. The faction's entire economy is tied to the Power Matrix, so the real skill is deciding where the matrix goes and when to stop expanding.
For the full launch roster, see the Dawn of War 4 factions overview→. This page covers the Necron opening, the unit roles that matter, both commanders and the specific counterplay you need to respect.
Official source: Warhammer 40,000: Dawn of War IV on Steam ↗ — official release date, factions, modes and system requirements.
What makes Necrons different?
Three systems define the faction.
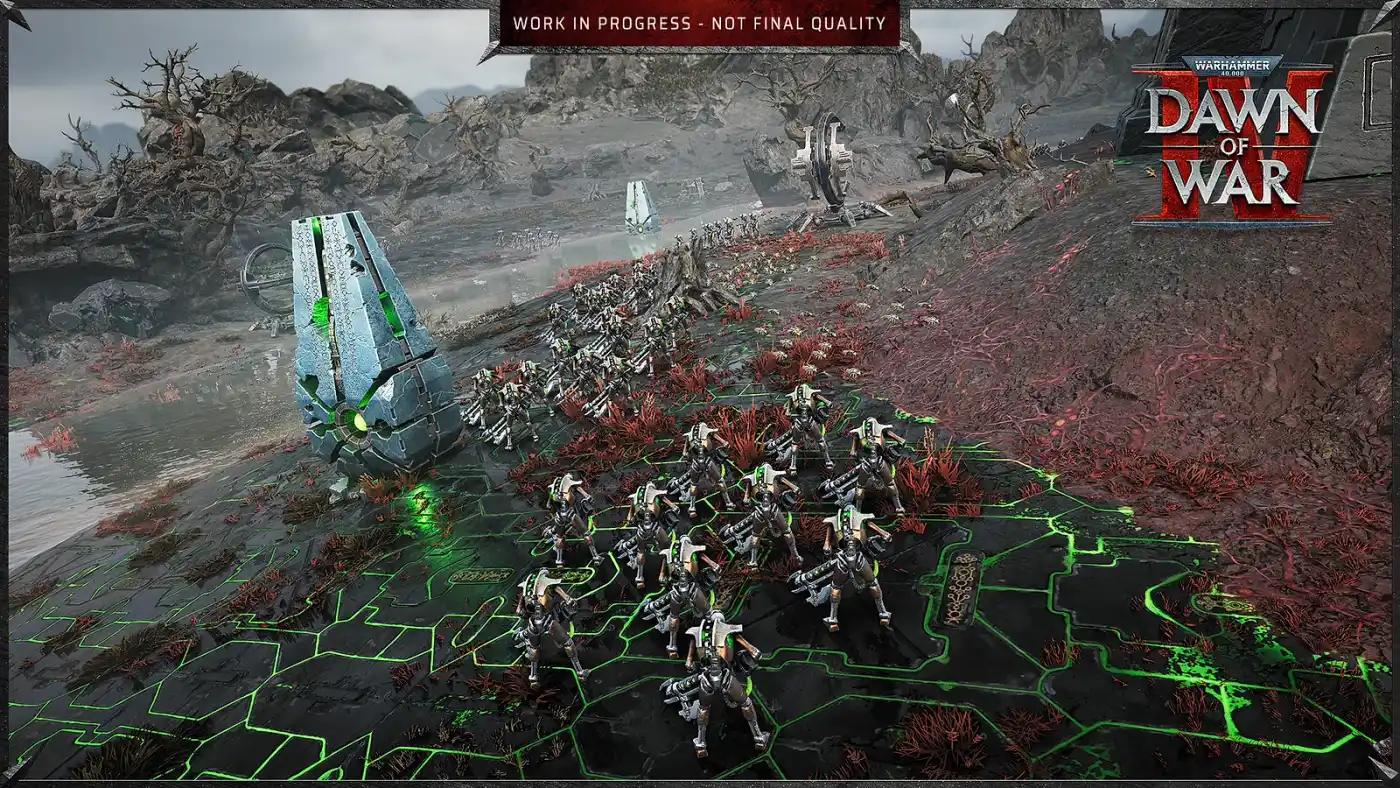
The Power Matrix. Necron buildings must be placed on the matrix, and every building extends it. Units standing on the matrix heal faster and are harder to kill. A larger matrix also increases Dominion income, which means expansion is both a defensive and an economic act.
Resurrection Galleries. These structures bring back a chosen unit type for free. That changes the math of every trade: a Necron player who loses a squad and rebuilds it for free is ahead even if the fight looked even.
Slow, deliberate movement. Necrons are the slowest faction. They have no early map-wide teleport and their units do not chase well. The faction compensates with Tomb Pylons, Monolith reserves and late-game translocation, but those tools arrive after the opening.
The weakness is exactly the inverse of the strength. If the enemy forces a fight outside the matrix, Necron units lose much of their staying power. If the enemy focuses fire until units are actually dead instead of merely damaged, Resurrection Galleries have less to bring back. If the enemy attacks a different lane while the Necron army advances, the slow army cannot respond in time.
The Necron opening: build the matrix before the army
The Necron opening is an expansion puzzle. You are not trying to win the first fight; you are trying to make the first fight happen on ground you control.
- Open with the Tomb Citadel and a core infantry squad. Your first units protect the matrix while it grows.
- Place the first expansion building toward the nearest contested point. The matrix should creep toward the fight, not away from it.
- Add a Resurrection Gallery before you add a second combat building. Free replacements are the faction's identity; skipping them turns Necrons into a worse version of Space Marines.
- Use Scarabs to scout and contest, not to win fights. Scarabs are cheap, fast and good at tying up ranged units, but they are not a battle line.
- Do not overextend the matrix. Every building outside the defended area is a gift to a raider. Expand in steps, with a unit nearby to protect the new edge.
The general timing logic is shared with the other factions and explained in the Dawn of War 4 build order guide→. For Necrons, the key difference is that your build order and your map layout are the same decision.
Necron units that matter
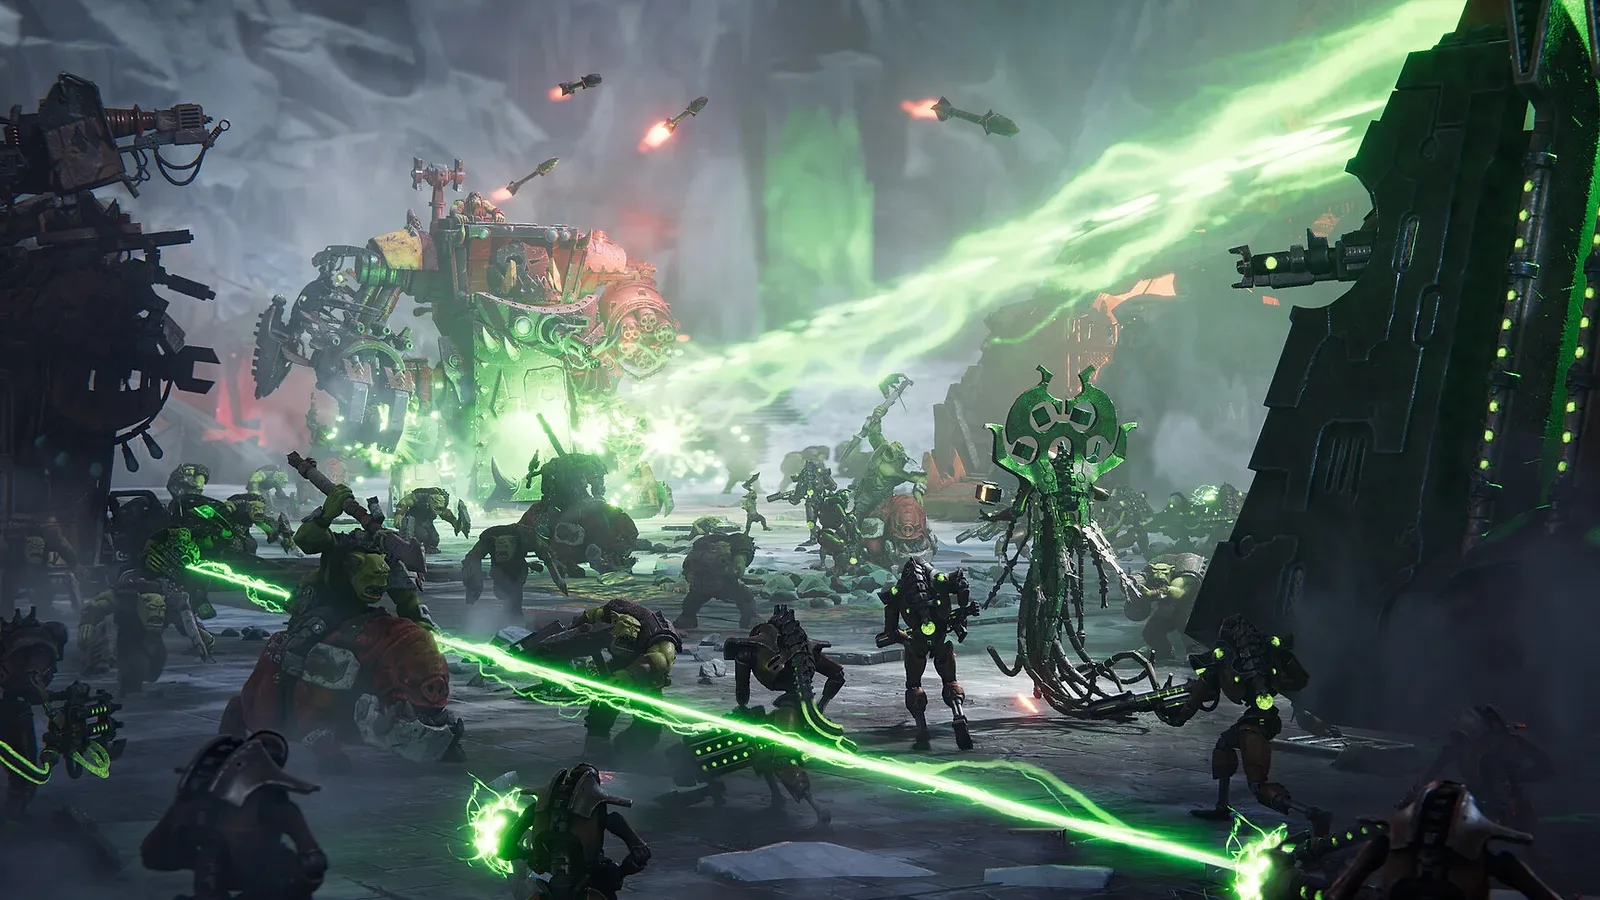
The roster is built around durable infantry, specialized snipers and a small number of very strong support units.
| Unit | Role | Why it matters |
|---|---|---|
| Necron Warriors | Core infantry | Durable line unit that benefits most from matrix healing |
| Scarabs | Fast harassment | Cheap, fast, good at tying up ranged units and scouting |
| Deathmarks | Sniper | Deletes commanders and high-value specialists |
| Doomstalkers | Anti-armor | Doomsday Blaster punishes large targets |
| Canoptek Spyders | Support / expansion | Builds Tomb Pylons anywhere, extending the matrix |
| Monolith | Late-game anchor | Eternity Gate brings reserves from the Tomb Citadel |
The unit mix is less about variety than about solving the opponent's plan. Against a melee swarm, Scarabs and area damage buy time. Against a vehicle push, Doomstalkers are mandatory. Against a commander-centric army, Deathmarks force the opponent to keep their key model out of sight. Against a turtle, Tomb Pylons and Monolith reserves let you bring the matrix to the fight rather than walking your army across the map.
Canoptek Spyders are the most strategically important support unit. A Tomb Pylon built near a contested point extends the matrix and acts as a teleport point. That is how Necrons project power without becoming fast. The pylon does not make the army mobile; it makes a piece of ground count as home.
Chronomancer Thothmek vs Ahmnok
Necrons have two commanders, and they solve different problems.
Chronomancer Thothmek is the time-magic commander. His kit is about control and tempo: slowing, repositioning and making the army's slow units hit at the right moment. Thothmek is the better pick when you want to dictate the pace of a fight and punish an opponent who commits too early.
Ahmnok is the melee commander. He is the frontline answer, a durable model that can stand in front of the army and absorb fire while the matrix grinds the enemy down. Ahmnok is the safer pick for new players because his role is obvious and he does not require precise ability timing.
Neither commander makes the army fast. If you pick Thothmek expecting to fix the faction's mobility, you will be disappointed. The correct use of both commanders is to make the matrix fight even more favorable, not to chase enemies across the map.
For the full commander comparison, see the Dawn of War 4 heroes and commanders guide→.
How to fight with Necrons
Necron fights are won before the first shot by where you stand.
- Fight on the matrix. If the fight is outside the matrix, retreat toward it. The healing and durability difference is large enough to decide even fights.
- Focus fire until the unit is dead. Necron damage is not bursty. Spreading damage across many units lets the enemy retreat and heal; concentrating it removes a unit from the fight permanently.
- Use Scarabs to tie up ranged units. A Scarab squad on top of a firing line forces the enemy to reposition or waste shots.
- Keep the Resurrection Gallery working. The free replacement is only valuable if you are actually losing units of the type it revives. Build the gallery for the unit you expect to trade most.
- Do not chase. Necron units are slow and easy to kite. Take the objective, reset the matrix and let the enemy come to you.
Standing on the matrix does not make units invincible. Area damage, focus fire and melee surrounds still kill Necron units. The matrix buys time; it does not replace positioning.
How to beat Necrons
The official counterplay is unusually direct: force fights outside the matrix, kill units outright and attack where the army is not.
- Fight outside the matrix. Pull the Necron army away from its buildings or attack a point the matrix does not cover.
- Focus fire. Damaged Necron units heal back on the matrix. Kill them instead of spreading damage.
- Attack a different lane. Necrons are slow. If they commit to one side of the map, hit the other.
- Kill the Spyders and Tomb Pylons. The pylon is the projection tool. Destroy it and the matrix stops growing.
- Deny the Resurrection Gallery. If you can reach the gallery, kill it. Every free replacement it produces is value you have to overcome twice.
The full matchup table is in the Dawn of War 4 counters guide→.
Necron campaign notes
The Necron campaign follows the awakening of a tomb complex beneath Kronus and the Adeptus Mechanicus expedition that disturbs it. The missions are built around slow advances, defended positions and the tension between waking more of the tomb and drawing more attention.
The campaign is the best place to learn matrix placement because the missions give you time to build and clear objectives at your own pace. Use it to practice expanding the matrix in steps, protecting the edge with units, and using Tomb Pylons to bring reinforcements to a forward fight. Those habits transfer directly to multiplayer, where the matrix is contested from the first minute.
FAQ
What is the Power Matrix in Dawn of War 4?
The Power Matrix is the Necron building network. Buildings must be placed on it, every building extends it, and units standing on it heal faster and fight better. A larger matrix also increases Dominion income.
Who are the Necron commanders?
Chronomancer Thothmek and Ahmnok. Thothmek is the time-magic control commander; Ahmnok is the melee frontline commander.
Are Necrons good for beginners?
Necrons are forgiving in the sense that their units are durable and their plan is clear, but they require good map planning. A player who expands the matrix carelessly will lose it to raiders.
How do you counter Necrons?
Force fights outside the Power Matrix, focus fire until units are dead, attack a different lane while the slow army advances, and destroy Tomb Pylons and Spyders to stop the matrix from growing.
Sources
- Warhammer 40,000: Dawn of War IV on Steam ↗ — official faction and feature list.
- Dawn of War IV official site ↗ — Necron playstyle and counterplay notes.
- Dawn of War IV Steam news hub ↗ — Necron faction deep dive and unit previews.