
Dawn of War 4 Multiplayer Guide: Modes and Tactics
Dawn of War 4 multiplayer explained: Annihilation, Domination and Maelstrom, 1v1 and 2v2 tactics, map control, commander picks and the habits that win matches.
Quick answer: Dawn of War 4 multiplayer supports 1v1 and 2v2 across 30 maps, with three modes: Annihilation (destroy all enemy HQs), Domination (hold strategic positions for victory points) and Maelstrom (dynamic objectives for victory points). Quick Match defaults to Annihilation, but you can queue for multiple modes.
Multiplayer is where the four factions' differences become sharp. The campaign gives you a fixed force and a scripted objective; multiplayer gives you a standard economy and an opponent who is actively trying to deny your plan. The first skill to learn is not a build order. It is map control: knowing which points matter, which fights are worth taking and when to give up ground.
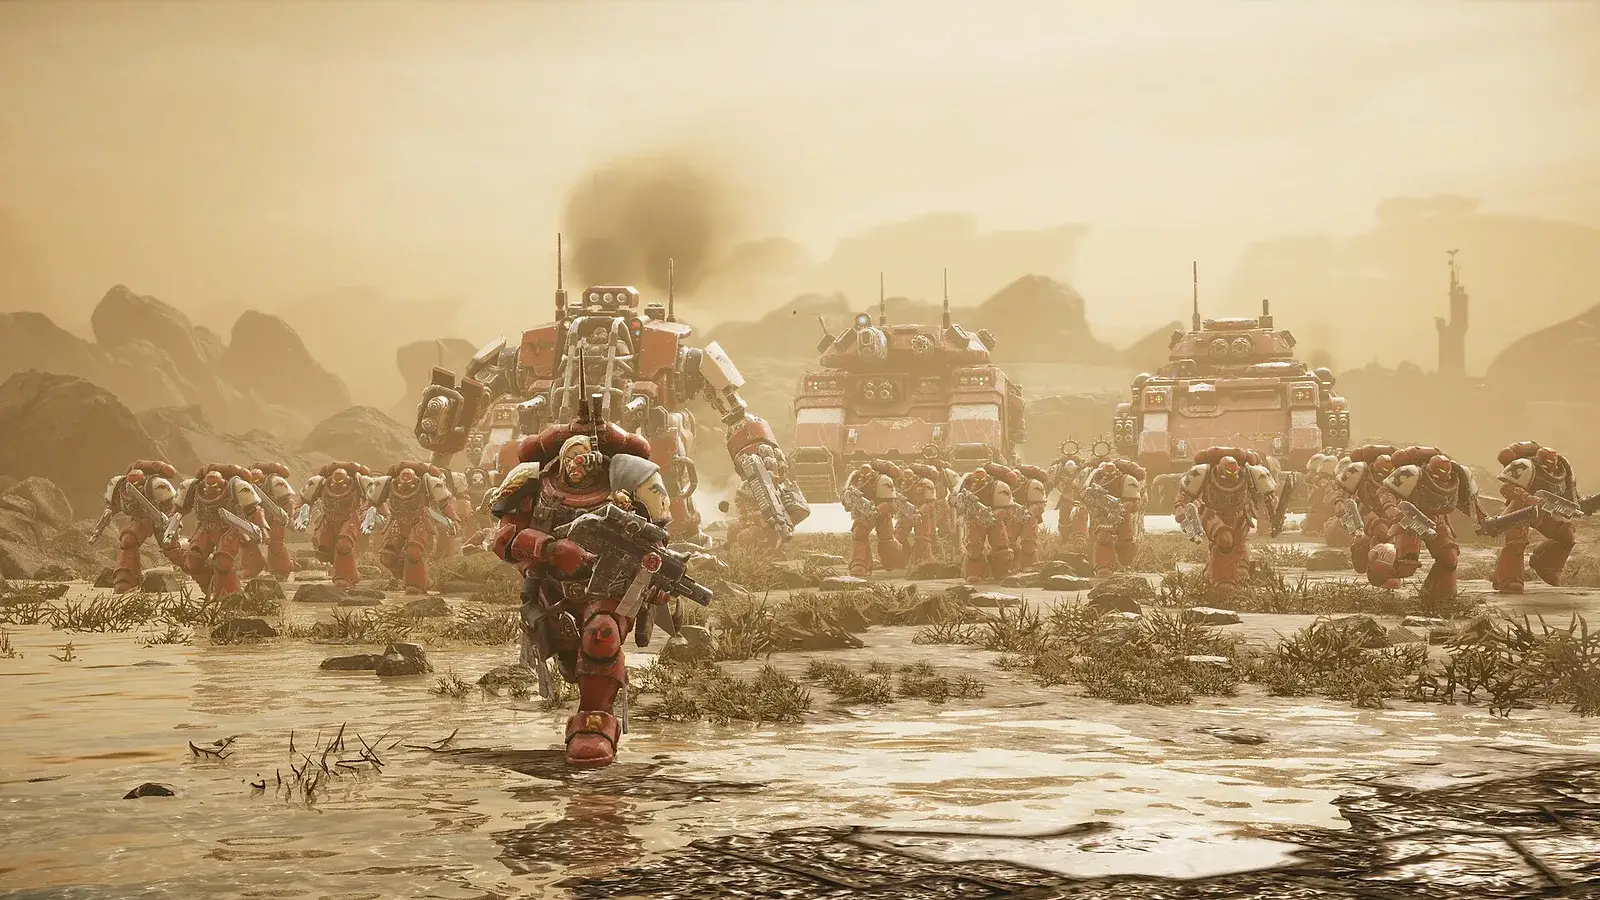
This guide covers the three modes, the 1v1 and 2v2 meta, the commander picks that fit each mode and the habits that separate players who climb from players who stall. For the opening sequences, see the Dawn of War 4 build order guide→.
Official source: Warhammer 40,000: Dawn of War IV on Steam ↗ — official release date, factions, modes and system requirements.
Learn one mode before adding the others. The Dawn of War 4 beginner guide→ covers the mechanics that transfer between modes.
The three multiplayer modes
Dawn of War 4 launches with three multiplayer modes. They share the same units and maps but ask different questions.
Annihilation
Annihilation is the default Quick Match mode. The win condition is simple: destroy every enemy HQ. That makes the mode about army preservation and decisive pushes. You can win by grinding the opponent down, but the cleanest path is to win a big fight and then convert the advantage into structure damage before they can rebuild.
Annihilation rewards factions with strong late-game anchors: Space Marines with a Dreadnought push, Necrons with a Monolith, AdMech with a Knight Castellan. It also rewards players who can keep their army alive through the mid-game instead of trading it away for a temporary point lead.
Domination
Domination is about holding strategic positions. Capture and hold the marked points, accumulate victory points, and win when the meter fills. The mode rewards map coverage and defensive play more than raw kills.
Domination is the best mode for learning the map. You cannot win by building one deathball and marching it around; you need to hold multiple points, which means splitting your army and reacting to the opponent's splits. That is also the mode where Necrons and AdMech feel strongest, because both factions can hold a position with fewer units.
Maelstrom
Maelstrom uses dynamic objectives. The game gives you a rotating set of goals, and completing them awards victory points. The mode is the most chaotic of the three because the objective can change before you finish the current one.
Maelstrom rewards mobility and decision-making over static defense. Orks and Space Marines benefit from the constant fighting, while slow factions have to choose which objectives to contest and which to concede. The mode is also the least forgiving for players who tunnel on one plan.
Quick Match defaults to Annihilation, but you can select multiple modes before queuing. If you are learning the game, start with Annihilation for the clear win condition, then add Domination once you are comfortable with map control.
1v1: the duel
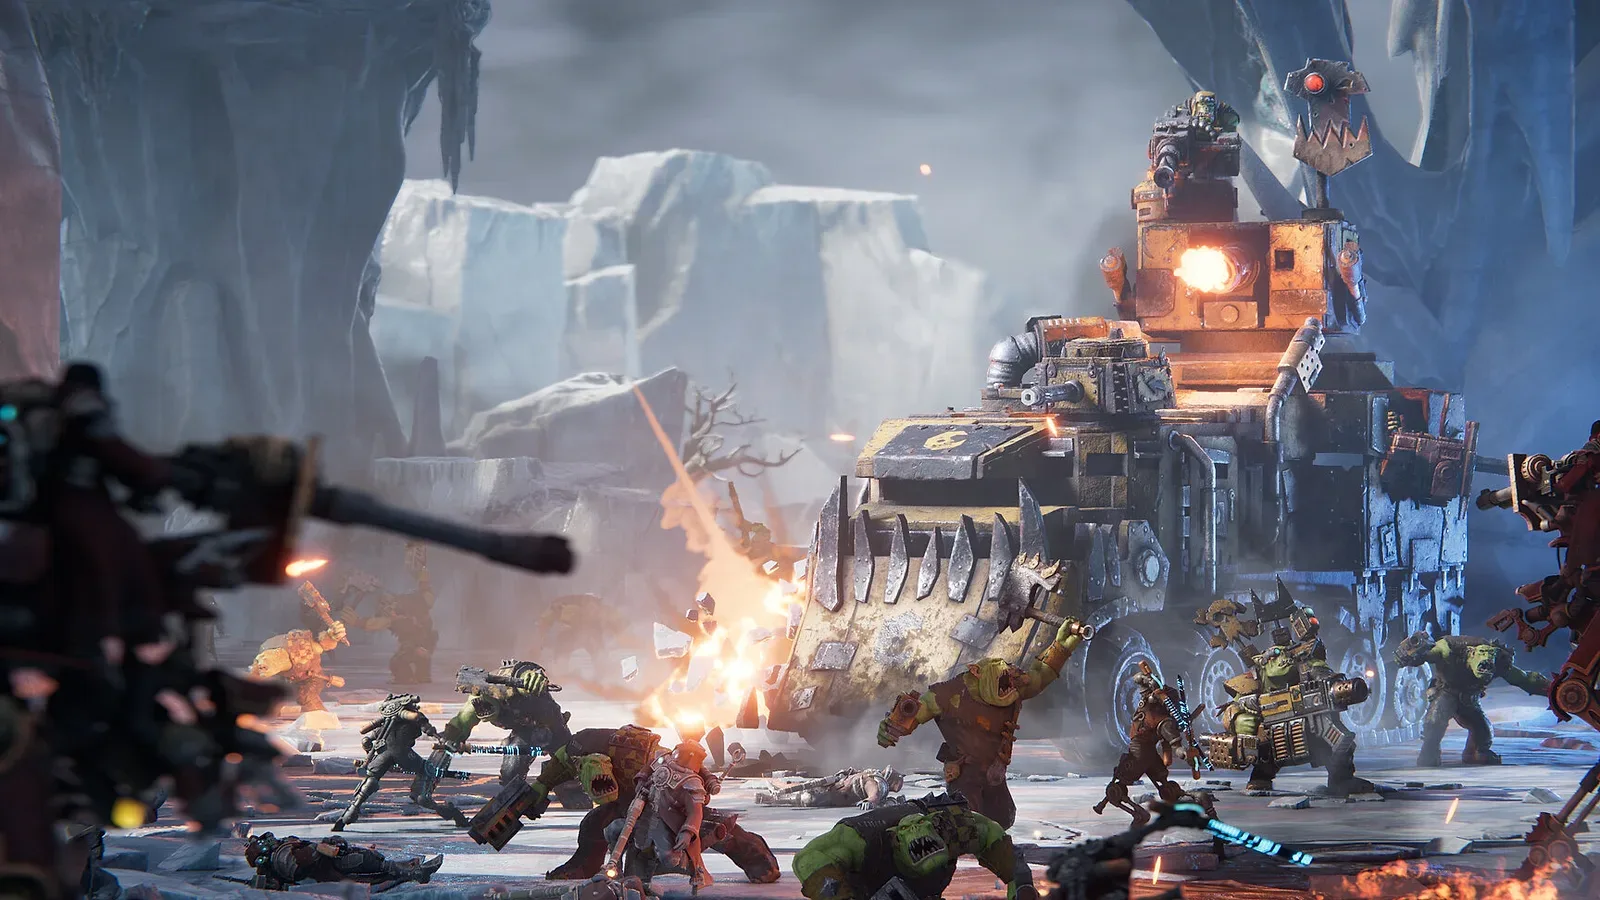
1v1 is the purest test of the opening. There is no teammate to cover your weak lane, no second army to bail you out and no one else to blame for a lost point. The match is decided by three things: who takes the map first, who wins the first big fight and who converts the advantage.
The 1v1 priorities are:
- Take the nearest safe point before you contest the middle. Income is the root of every army.
- Scout the first tech choice. You need to know whether the opponent is expanding, teching or all-in before you commit.
- Fight for the point, not for the kill. A fight that forces the enemy off a point is worth more than a chase that kills one squad and loses the point.
- Convert a won fight into structure damage. A won fight that does not remove a building or take a point is a wasted window.
- Do not overextend after a win. The opponent's reinforcement path is shorter than yours. Take the objective and reset.
The most common 1v1 loss is not a bad army composition; it is a fight taken at the wrong time. A player who waits for the first upgrade and reinforces before the push will beat a player with a better build order who attacks early and dies.
2v2: the team game
2v2 changes the game more than the mode description suggests. Two armies can cover each other's weaknesses, which makes composition and communication as important as individual micro.
The strongest 2v2 patterns are:
- One pressure player, one scaling player. Orks or Marines force the enemy to react while Necrons or AdMech build toward the late game.
- Split the map, not the army. Each player holds a lane and rotates to help when needed. Two armies in the same lane leave the other lane free.
- Cover the weakness, not the strength. If your teammate is AdMech, your job is to keep melee off their Rangers. If your teammate is Necrons, your job is to pressure the points their matrix does not cover.
- Share information. A scout that sees a tech choice is worth more in 2v2 than in 1v1 because the information helps two armies, not one.
The most common 2v2 mistake is double-committing to one lane. It feels safe, but it gives the enemy the rest of the map and lets them trade space for time. The second most common mistake is ignoring the teammate's army; a 2v2 is not two 1v1s happening side by side.
Commander picks for multiplayer
Each faction has a commander that is easier to use in multiplayer and one that rewards more practice.
- Space Marines: Company Master Astoran is the safe pick for a frontline; Captain Cyrus is the pick for players who want to control vision and pick off units.
- Orks: Warboss Gorgutz is the durable frontline; Beast Snagga Boss Guzcutta is the faster pressure pick.
- Necrons: Ahmnok is the straightforward melee anchor; Chronomancer Thothmek is the control pick for players who can time abilities.
- AdMech: Magos Dominus Nulpherus-1 is the only launch commander, and his kit is built around supporting the network rather than soloing a lane.
The commander is not a substitute for the army. A common mistake is to invest everything in the commander and then lose the game when the commander dies. Treat the commander as a powerful unit with abilities, not as a win condition.
For the full commander list, see the Dawn of War 4 heroes and commanders guide→.
Map control: the skill that transfers
Every mode rewards the same underlying skill: controlling more of the map than the opponent.
- Know the point values. Not every point is worth the same. Take the high-value points first and let the opponent have the low-value ones.
- Play the reinforcement path. A fight near your production is easier to sustain than a fight near theirs. Attack where your reinforcements arrive faster.
- Deny vision. Scouts and stealth units are force multipliers. If the opponent cannot see your army, they have to respect every lane.
- Trade space for time when behind. Giving up a point to save an army is usually correct. Giving up the army to save a point is almost always wrong.
- Force the opponent to split. A deathball is strong in one place and weak everywhere else. Threaten two points and attack the one with fewer defenders.
The Dawn of War 4 counters guide→ covers the unit-level answers; map control is the layer above it.
Common multiplayer mistakes
Fighting without a reason. Every fight should be for a point, a kill or tempo. If it is not, disengage.
Overbuilding economy. A second expansion you cannot defend is a liability. Expand when you have the army to hold it.
Ignoring the mode. Annihilation, Domination and Maelstrom reward different behavior. A player who plays Domination like Annihilation will lose to a player who holds the points.
Chasing kills. A retreating squad is not worth losing your position. Take the point and let them come back.
Not scouting. The correct army composition depends on what the opponent is building. Scouting is not optional.
Tilting after a loss. RTS losses are usually structural, not random. Review the replay, find the decision that lost the game and fix that, not the whole build.
FAQ
Does Dawn of War 4 have multiplayer?
Yes. It supports 1v1 and 2v2 across 30 maps, with Annihilation, Domination and Maelstrom modes.
What is the default multiplayer mode?
Quick Match defaults to Annihilation, where the goal is to destroy all enemy HQs. You can select multiple modes before queuing.
Is there ranked multiplayer?
The launch material confirms multiplayer modes and matchmaking but does not describe a full ranked ladder in detail. Treat ranked as a post-launch feature to watch rather than a confirmed mode.
What is the best 2v2 composition?
There is no single best composition. The strongest pattern is one pressure faction plus one scaling faction, with each player covering the other's weakness. Orks with Necrons and Space Marines with AdMech are natural pairings.
Sources
- Warhammer 40,000: Dawn of War IV on Steam ↗ — official multiplayer feature list.
- Dawn of War IV official site ↗ — modes and faction overview.
- Dawn of War IV Steam news hub ↗ — multiplayer AMA and mode details.